Home
About us
Projects
Blog
Contacts
Language:
Українська
English
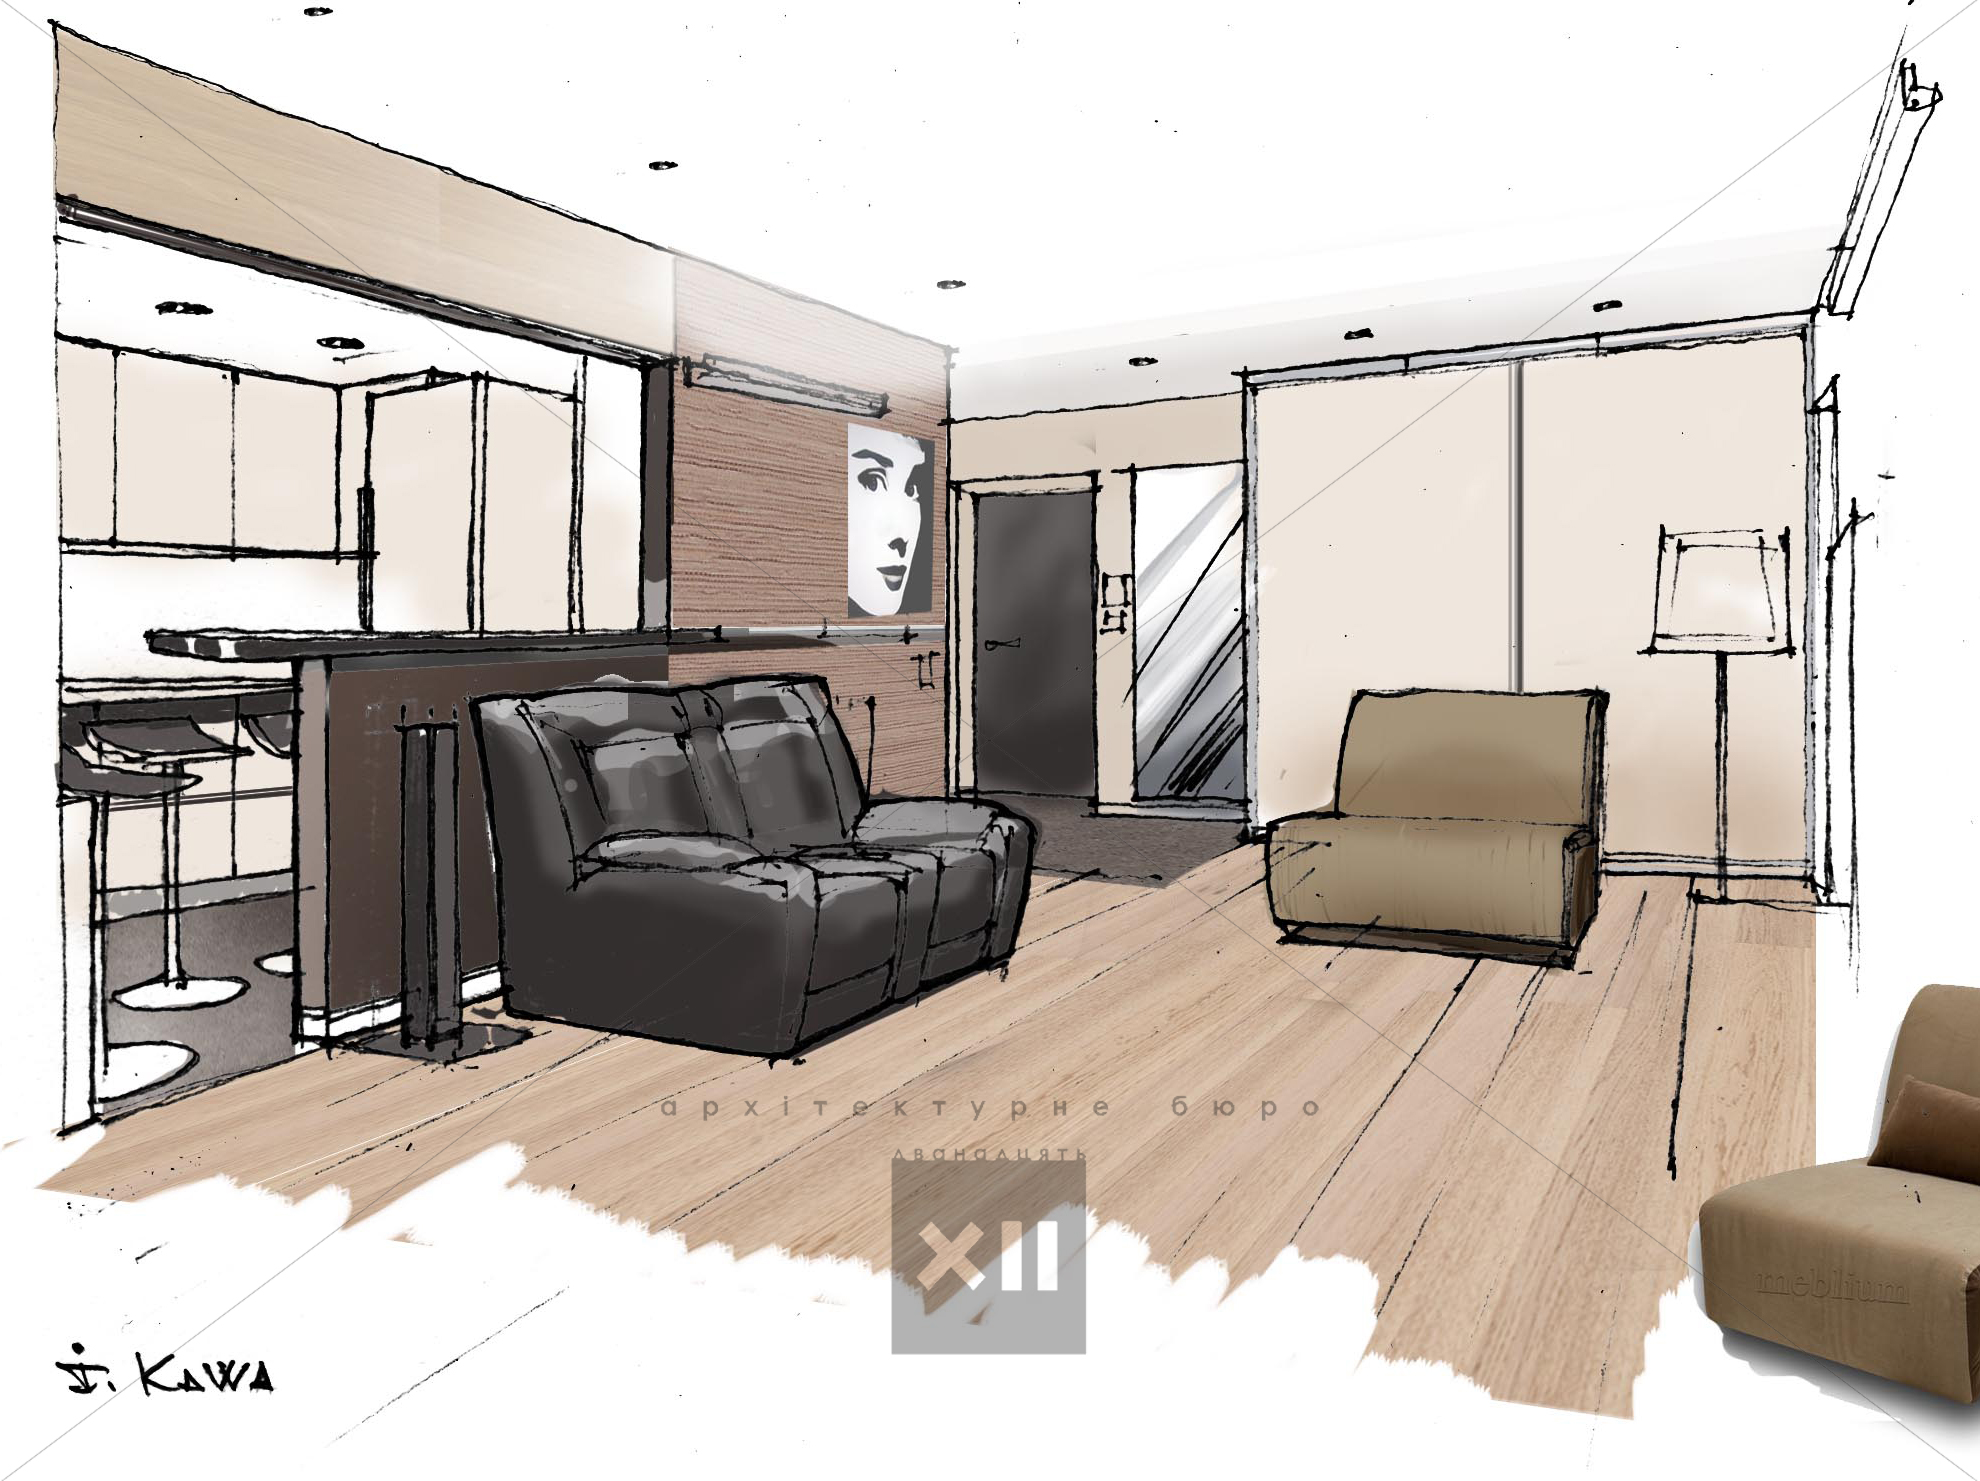
XII_LivingRoom_13
15.01.2018
Share:
Leave a Comment:
Cancel reply
Cancel reply
Post a Comment